How to Fly With Your Bike Like a Pro
18 Jan 2017
A break from our usual programming to tackle a question I get a lot — do you have any tips for flying with your bike?
After flights to four different continents and 7+ countries in the past three years, and only a few disasters, I have learned a thing or two about how to bring your bike on a plane. Here is my attempt to organize all that accumulated wisdom into one post, in a more or less sensical step-by-step process.
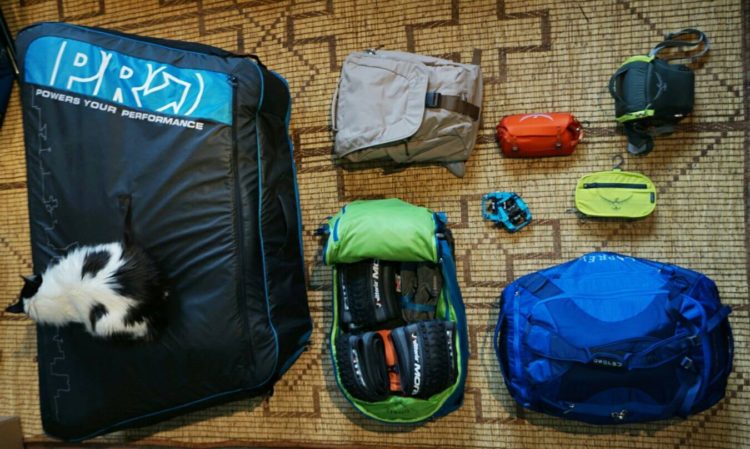
Bike and Osprey Packs all ready to go. Also, a cat.
Step one. Choose an airline and decide whether you’re going to try to dodge the bike fees or not.
Flying with a bike internationally and not paying fees is possible — you can cram all of your stuff into two bags weighing less than 50lbs…wheels in one bag, frame in another, clothes and everything else stuffed around the sides, and travel internationally for *free. We have done this numerous times, and if you’re really that broke (and we were really that broke), it’s great. But there are some serious disadvantages here, namely you have to get each bag to be less than 50lbs which is harder than it sounds, especially if you’re going on a few month trip which we often are. Also, with many airlines now offering only one free bag internationally (and none domestically), this strategy barely saves you any money. And this make-you-pay-for-everything trend is only going to get worse. Also, there is the matter of moving around the airport with two bags, plus a carry-on, which, unless you can find a luggage cart immediately, results in an awkward game of leapfrog that inevitably pisses off everyone behind you in the customs line. But it may be worth it to you to save $300 roundtrip, in which case check out these wheel and frame bags from Ruster Sports.
Now that Macky and I have slightly more than zero dollars of disposable income, we find it way less hassle to just pay the bike fee and get on with our lives. Plus, traveling internationally, we’ve found that other countries are way less organized about actually charging you the bike fee — and international airlines sometimes have way lower fees so if you check in with, say, Lufthansa, instead of American, on your way home you may not have to pay the fee at all. Also, even in the U.S., airline staff are often confused about what to charge you. For example, we once checked two bikes in with American in Albuquerque and only got charged for one. Whoopee!
If you’re traveling domestically within the U.S., try to fly on either Southwest ($75 bike fee), JetBlue ($50 bike fee) or Frontier ($75). These airlines make traveling with a bike super affordable. However, if you’re stuck flying a big carrier within the U.S. (American, United, Delta, etc.) the bike fee will probably be $150 – $200, which is utterly egregious for a short flight. If you absolutely can’t get out of flying with one of these carriers, and you can’t just drive to your final destination, definitely check out BikeFlights.com. There are some downsides to BikeFlights — namely, the bummer of being without your bike for a few days on either end of your trip- — but it’s certainly a better option than paying $200 to get your bike from SFO – DIA. (BikeFlights will probably still cost around the same as the bike fee from Southwest).
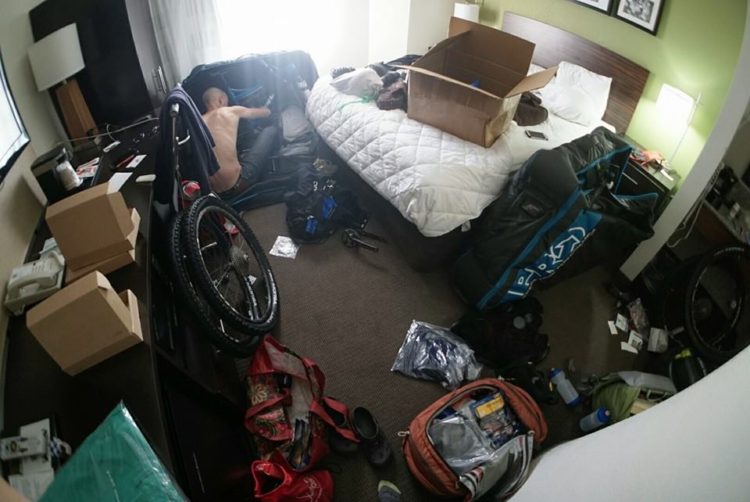
Casual packing scene in the hotel room less than 3 hrs before international flight. We made it.
Step Two. Pick a case for your bike.
Cardboard box or fancy bike case? Honestly, if you’re not planning on flying with your bike often, a cardboard bike box is totally fine. You can get usually get one at your local shop free of charge. In fact they may try to give you ten. Cardboard boxes are also great if you have a complicated itinerary once you get to your final destination, because you can ditch the box and get another when it’s time to go home, as opposed to having to tote a case around for your entire trip.
There is an advantage to having a bike case, however, and it’s definitely a worthy investment if you travel with bikes more than once every few years. Simply put, it’s way easier, faster and more efficient to pack your bike into a case. The process is streamlined, and there are pockets with zippers which means you’re way less likely to have a pre-production-literally-the-only-one-in-existence endcap fall off your wheel and disappear forever. Not that I’m speaking from experience or anything.
We use Shimano Pro Mega Travel Case which has a frame but a soft exterior, so it can still can be folded up pretty small for transport once you unload your bikes. They also have wheels, which makes for a superior experience to dragging a cardboard box around the airport. Soft cases are definitely where it’s at — hard cases are bulky, impossible to store and, as far as I can tell, pretty unnecessary.
Step Three. Pack your bike.
Macky and I can now pack (and unpack) two bikes in about half an hour. Here’s a little video of me showing you how to pack a bike IN ONE MINUTE —
In case you don’t like videos, the steps are basically as follows —
- Remove handlebars
- Remove pedals.
- Remove your brake rotors and pack them in cardboard so they don’t get bent
- Remove and protect derailleur.
- Put down your dropper post (or shove your seat post into the frame if you don’t have a dropper).
- Mount bike in frame (if you have a case).
- Zip tie the ever living shit out of any loose parts you don’t want to lose when the TSA paws through your stuff.
- Let the air out of your tires.
- Pack other stuff around your bike.
- Cover any remaining pokey bits with foam packing material to avoid scratches.
- Zip everything up and good job, you’ve done it.
A few things to be aware of — technically you aren’t allowed to fly with CO2 cartridges. I say technically, because we just pack them into plastic water bottles which somehow throws off the TSA’s super advanced CO2 cartridge detectors and they go unnoticed. The only time this didn’t work was in Thailand, which is ironic considering how much more intense US security is [supposed to be]. The main point is if you do decide to risk having TSA steal your Co2 cartridges, DO NOT leave them in a tool pouch or backpack because then you risk having your entire pouch or pack taken away by security. (I really hope this tip doesn’t get me put on some sort of a list.)
The TSA also isn’t super fond of tire sealant, and there’s nothing more annoying than showing up at a race and realizing your tire sealant has been stolen confiscated. I’m not entirely sure what the issue here is, but apparently Stan’s sealant contains ammonia, which is a no-no, and Slime’s old sealant was inconveniently named TNT, which makes the TSA nervous for some reason (because if you’re going to bring TNT on a plane, obviously you’re going to label it?!!?!) To get around this we just remove the labels. Apparently mystery liquids are fine.
Also, if you’re going to do this a lot, it’s worth investing in a semi-accurate scale to weigh your bags. Otherwise you will inevitably be unpacking and repacking in the check-in line which is not a great way to make friends.
Step Four. Go to the airport and check your bags.
This is theoretically the easy part but it can be a massive pain in the ass if you haven’t followed that last tip in Step Three and weighed your bike bags. Technically bike bags can be up to 70lbs for most destinations, which sounds like a lot, but really isn’t once you start adding in helmets, spare parts, extra tires, etc. We usually end up with half our tires in our carry-on for this very reason. Sometimes you get lucky and they don’t weigh your bags. Sometimes you get someone who makes you repack your entire bag because it’s 0.4lbs over the limit, and you nearly miss your flight.
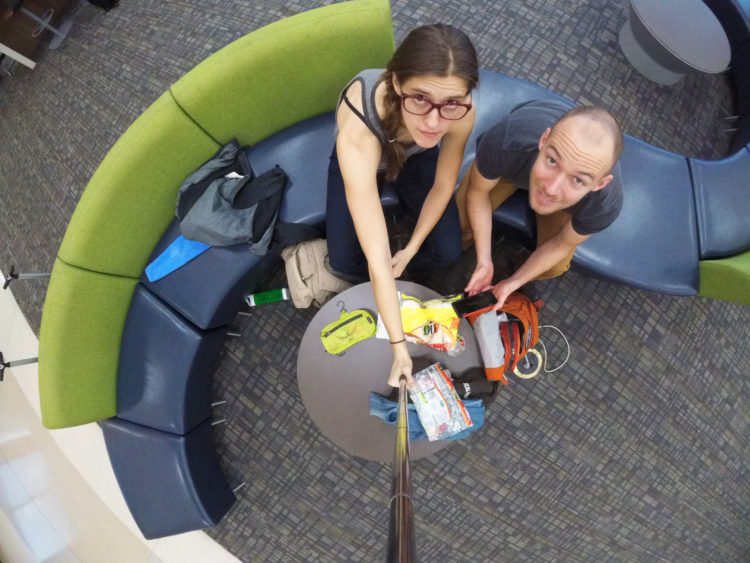
Killing time with the selfie stick the one time we arrived early enough at the airport to get bored.
Step Five. Arrive at your destination and collect your bike.
But what if the airline loses my bike? People worry about this a lot and I get it — bikes are expensive and we love them and it is heart-wrenching when something happens to them. But shit happens. Bikes fall off bike racks going down the interstate. Bikes get stolen. And probably, sometimes, airlines lose them. But your odds of having your bike lost or crushed by an airline are pretty slim. Something like less than 1% of all luggage gets lost and that’s INCLUDING all the “lost” luggage that eventually makes it’s way back to its owners, which, as far as I can tell, is nearly all of it.
So, if you don’t see your bike pop out on the carousel, DON’T FREAK OUT. For starters, it’s probably going to come out at a separate oversize baggage spot (which is sometimes miles away from the normal baggage carousel) and it will probably be one of the last things out, just ’cause. Of course, sometimes bike boxes come out on the normal carousel — there seems to be no discernible pattern here — so you just have to wait and see. This might sound weird, but I love it when the airline loses our bikes because then they have to deliver them to our final destination which means that really awkward bus/train trip with two bike boxes just got way easier. Every time my luggage has been “lost,” it has shown up (and been delivered directly to me) in less than 24 hours. Sometimes this is annoying (like that one time I had no toothbrush in Thailand) but other times it’s awesome (like when we didn’t have to shove two bike boxes into a 1988 volvo and they arrived only four hours after us).
If you’re still worried, I seriously recommend purchasing insurance on your bike. I’m in the process of doing this (after my little stolen bike fiasco in April), so maybe I’ll write a post once I go through the options and figure out what makes the most sense. From my preliminary research, this seems like something that is fairly affordable and would make a ton of sense for anyone who travels with expensive bikes (which is probably literally all of you, if you’ve made it this far).
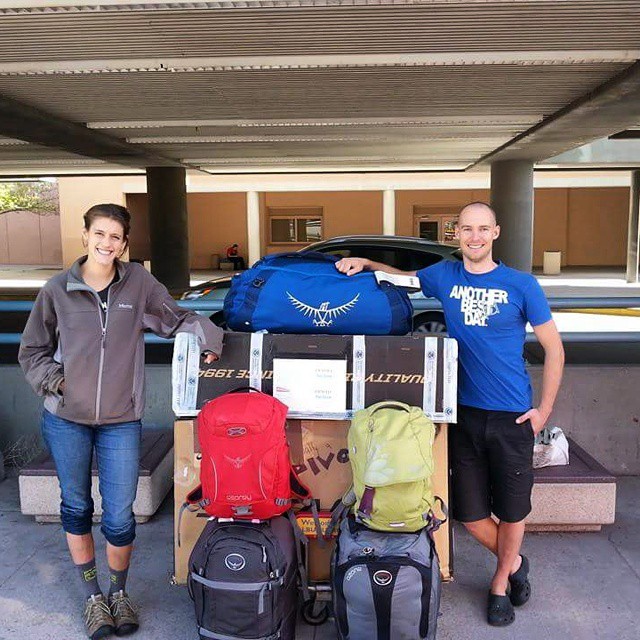
Step Six. Leave the airport.
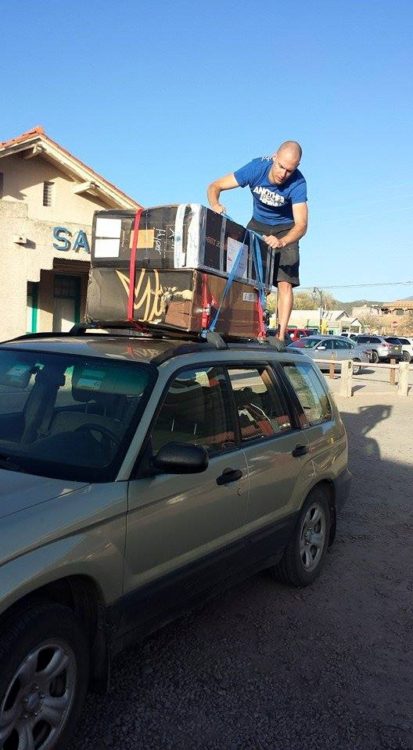
For the love of all that is holy and whatnot, try to remember that you will have bikes with you when you make your arrival/return plans. This is something that Macky and I are not so good at and it has resulted in entertaining scenarios like strapping bikes on top of cars and also that one time Macky had to run up and down a flight of stairs with a 70lb bag on his head TWICE, while I was fending off a pack of bums, and then we basically had to jump on a moving train with all of our stuff. That was fun.
Now that I think about it, this was the same day as the bum/train fiasco. Jeez.
All this being said, bikes are tough. They survive being chucked into creeks and off boulders, so they will survive being stacked by airline employees or strapped to the top of your car. It’s all going to be okay. The real key to traveling with your bike is to not get unduly stressed out, and just enjoy the opportunity to travel and see the world. Bringing your bike on a plane is no big deal and the reward…
Step Seven. Go ride somewhere awesome.
Is totally worth it.

Shredding in the snow and mud in Scotland.

…and the sun in Argentina.


Thanks for this brief explanation. My cousin was in dire need for this information. Recently he came to my place to have a bike trip with me. He flew to California by having his bike shipped with http://www.wewilltransportit.com to our place. As he is returning back to his hometown, he needs some other way to take his bike with him. Shipping his bike separately wasn’t feasible for him. I was going through your pages and found this article. Great to read and understand. I asked my cousin to have a look. We tried packing the bike and we were successful. Now he is going to take his bike with him on flight. Thanks once again.
For those using a free and recyclable cardboard box. http://www.bikeboxrollers.com